How Ultrasound Becomes a 3D Baby Keepsake
From volumetric ultrasound data to a hand-finished physical keepsake — every step explained in plain language.
A 3D-printed baby keepsake starts with a clinically indicated 3D or 4D ultrasound volume, not a flat photo. LifePrint 3D segments the fetal surface from that volume, converts it into a clean digital mesh, and 3D prints and hand-finishes the result — all from imaging a licensed provider already captured during care.
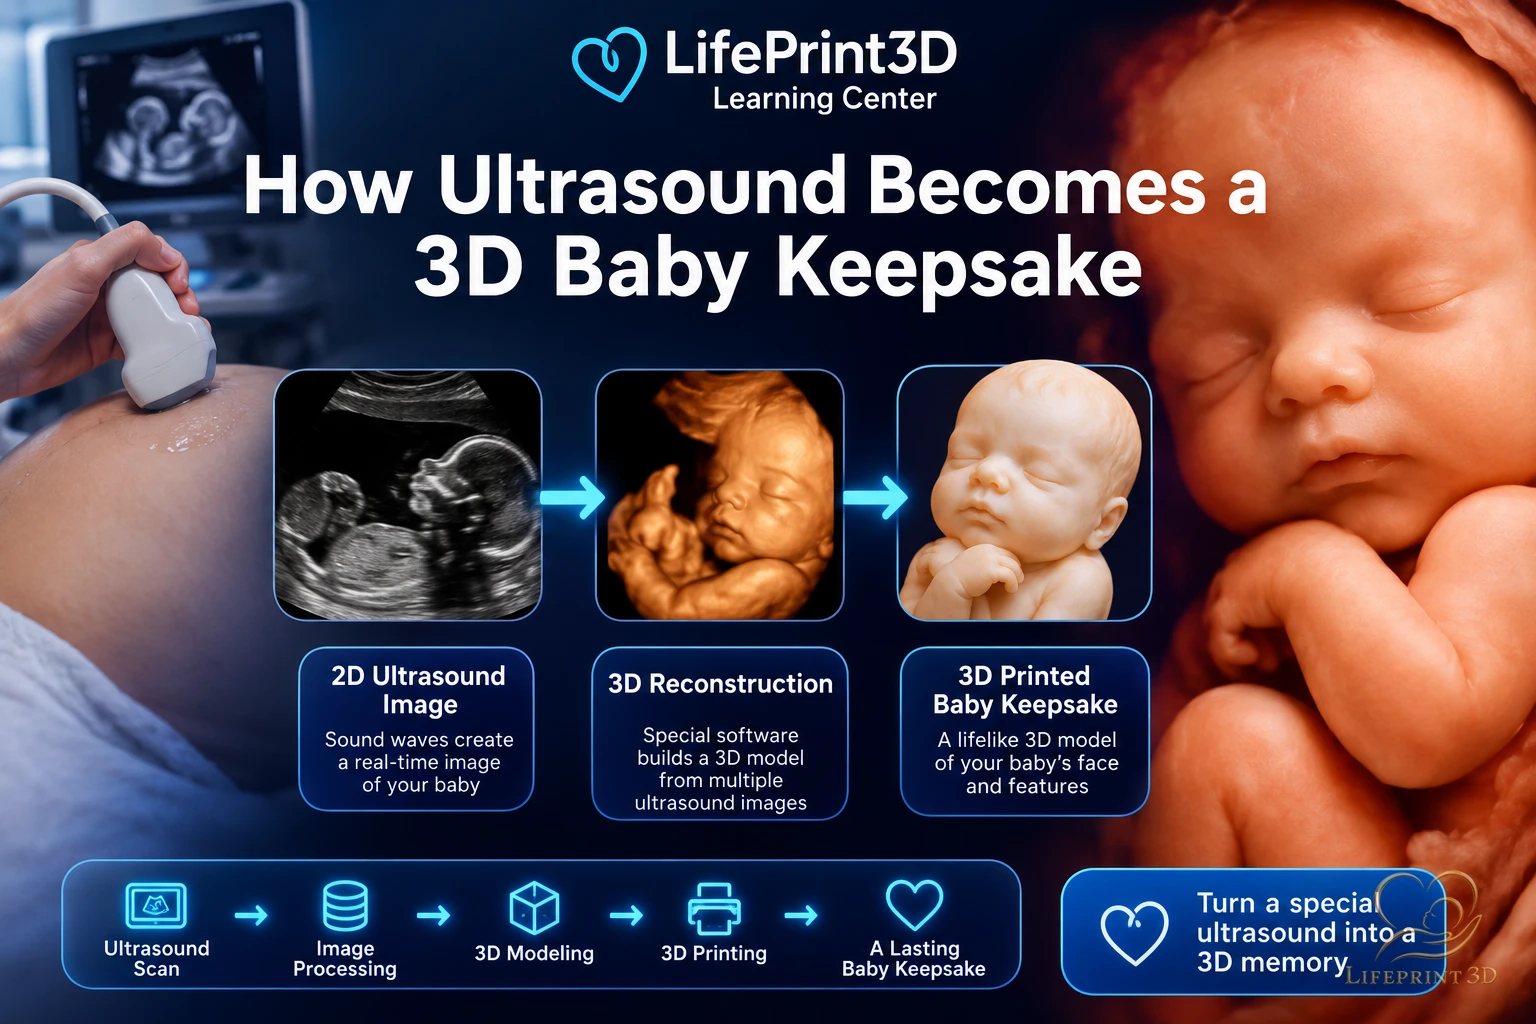
A 3D-printed baby keepsake starts long before it reaches a printer bed. It begins with a routine, clinically indicated ultrasound and travels through several technical steps before it becomes a physical object you can hold. Understanding that path helps set realistic expectations about quality, timing, and what we can and cannot create.
From a Clinical Scan to a Digital Volume
During a medically indicated ultrasound, a sonographer may acquire a 3D volume rather than a single flat image. This volume is a dense grid of data points describing the reflected sound waves across a three-dimensional space, not just one plane.
That volume can typically be exported from the ultrasound machine as a DICOM file or, on some consumer-facing systems, as a vendor-specific 3D export. LifePrint 3D does not perform scans ourselves; we work exclusively from imaging you already received during care you already sought.
Segmentation: Finding the Surface
Segmentation is the process of identifying which parts of the volume represent the fetal surface — the face, hands, and body contour — and separating that from surrounding fluid, tissue, and noise.
This step is part technical and part interpretive. Our team reviews the volume slice by slice, using specialized segmentation software to trace the boundary between amniotic fluid and fetal surface as accurately as the source data allows.
From Digital Mesh to Physical Model
Once segmented, the surface is converted into a 3D mesh — a network of connected triangles that defines the printable shape. The mesh is cleaned, smoothed, and checked for structural integrity so it can be manufactured without gaps or fragile thin sections.
The finished mesh is then sent to production, printed in your selected size and finish, and hand-finished by our team before a final quality inspection and packaging for worldwide shipping.
What Makes a Keepsake-Quality Result
The single biggest factor in keepsake quality is the source data, not the printer. A clear volume with adequate fluid around the face, minimal shadowing, and a cooperative fetal position will consistently outperform a rushed or obstructed acquisition.
That's why every submission goes through physician review before payment: we want you to know what to expect from your specific file before you commit to an order.
Key Takeaways
- During a medically indicated ultrasound, a sonographer may acquire a 3D volume rather than a single flat image.
- Segmentation is the process of identifying which parts of the volume represent the fetal surface — the face, hands, and body contour — and separating that from surrounding fluid, tissue, and noise.
- Once segmented, the surface is converted into a 3D mesh — a network of connected triangles that defines the printable shape.
- The single biggest factor in keepsake quality is the source data, not the printer.
Frequently Asked Questions
Do I need a special 3D ultrasound appointment?
Not necessarily. If your care team already captured a 3D or 4D volume during a routine visit, that data may be usable. We review your specific file to confirm.
Can a 2D ultrasound photo be turned into a 3D model?
No. A flat 2D photo does not contain depth information, so it cannot be converted into an accurate 3D surface. True volumetric (3D/4D) data is required.
Related articles
Glossary · Frequently asked questions · All Learning Center articles