From DICOM to Physical Model: The Complete Workflow
A step-by-step walkthrough of how a DICOM imaging file becomes a hand-finished 3D printed anatomical model.
A DICOM file is a stack of cross-sectional imaging slices that, once segmented into a specific structure and converted into a clean triangular mesh, can be 3D printed as a physical anatomical model. The process moves through segmentation, mesh cleanup, printing, and hand-finishing before a final quality check against the source imaging.
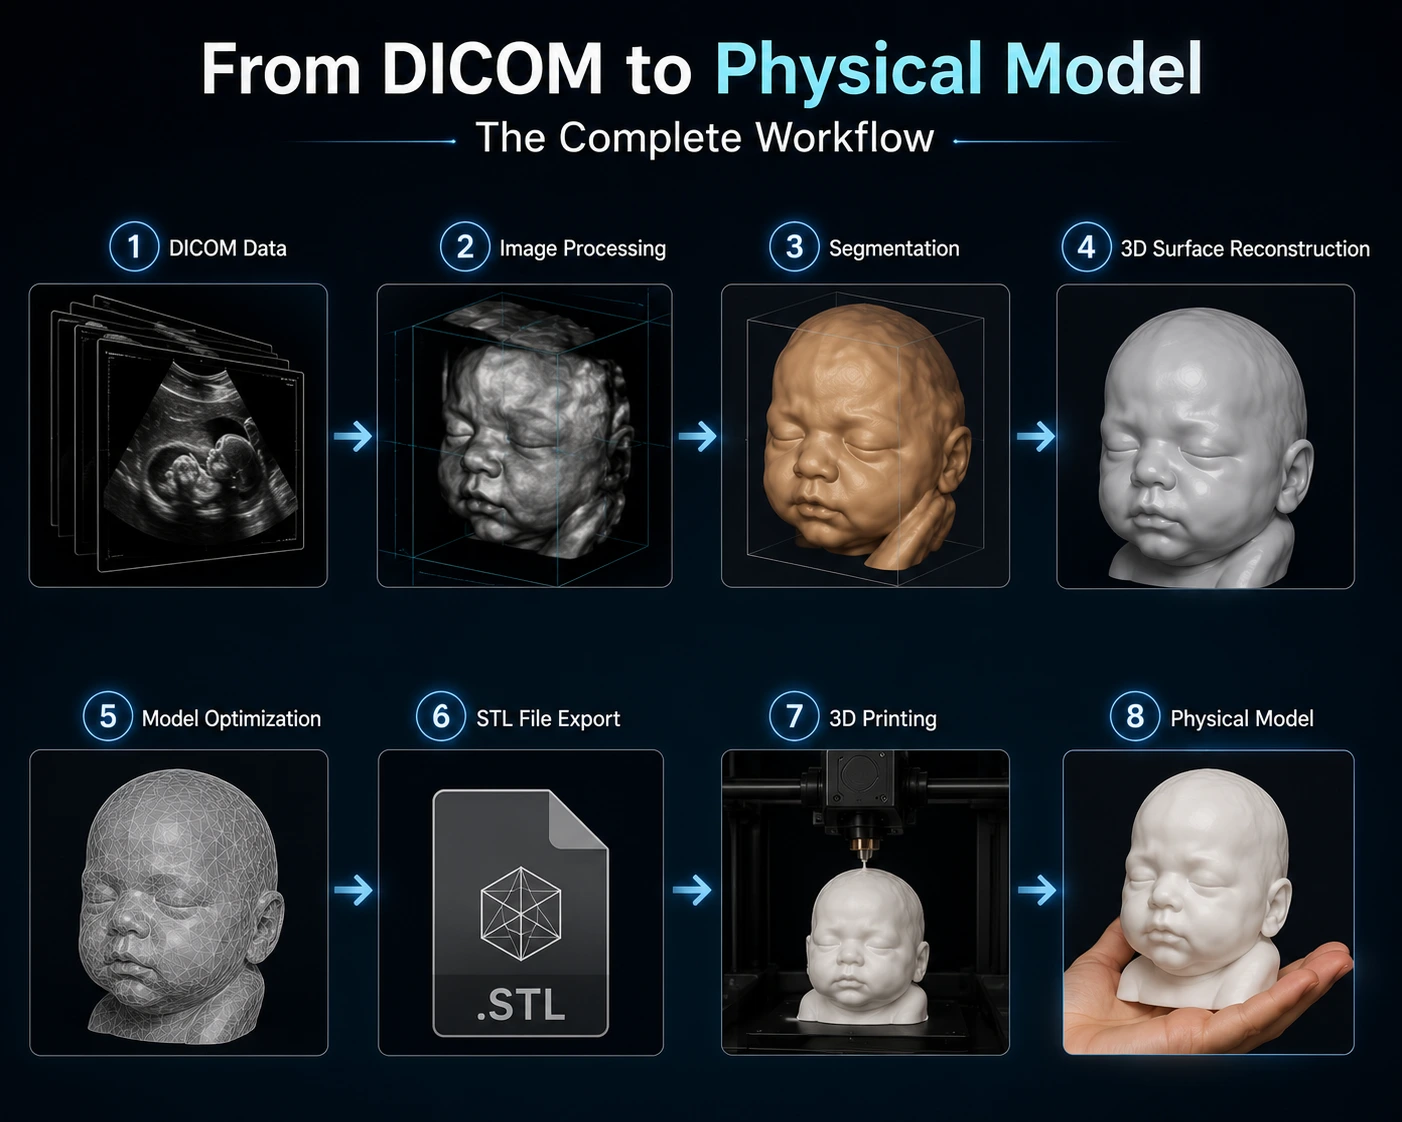
DICOM (Digital Imaging and Communications in Medicine) is the standard file format behind almost every CT and MRI scan performed today. Converting that data into a physical model involves several distinct, technical stages.
What Is a DICOM File?
A DICOM file isn't a single image — it's typically a stack of hundreds of individual cross-sectional slices, along with metadata describing the scanner settings and patient orientation.
Together, that stack of slices represents a full three-dimensional volume of the scanned anatomy, similar in concept to a loaf of bread sliced into many thin pieces.
Segmentation: Isolating the Anatomy of Interest
Segmentation software identifies which voxels (3D pixels) in the DICOM stack belong to the structure being modeled — a specific bone, organ, or vascular structure — based on tissue density and contrast.
This is typically done with a combination of automated thresholding tools and manual refinement by a trained technician, since anatomy rarely follows perfectly clean density boundaries.
Mesh Cleanup and Print Preparation
The segmented structure is converted into an STL or similar mesh file, then checked for common printability issues: non-manifold edges, gaps, and overly thin walls that could fail during printing.
Support structures are planned at this stage as well, particularly for overhanging or complex anatomical geometry.
Printing, Post-Processing, and Quality Review
The prepared file is sent to production, printed layer by layer, and then cleaned of support material, sanded, and finished according to the intended use — display-ready keepsake or study-ready anatomical model.
A final review compares the finished model against the original imaging to confirm structural fidelity before it ships.
Key Takeaways
- A DICOM file isn't a single image — it's typically a stack of hundreds of individual cross-sectional slices, along with metadata describing the scanner settings and patient orientation.
- Segmentation software identifies which voxels (3D pixels) in the DICOM stack belong to the structure being modeled — a specific bone, organ, or vascular structure — based on tissue density and contrast.
- The segmented structure is converted into an STL or similar mesh file, then checked for common printability issues: non-manifold edges, gaps, and overly thin walls that could fail during printing.
- The prepared file is sent to production, printed layer by layer, and then cleaned of support material, sanded, and finished according to the intended use — display-ready keepsake or study-ready anatomical model.
Frequently Asked Questions
Do I need to provide the whole DICOM study or just the relevant series?
The full relevant series is preferred, since segmentation software benefits from complete slice data rather than a partial excerpt.
How long does the DICOM-to-model process take?
Timelines vary by model complexity, but most orders move from review to shipped model within two to three weeks.
Related articles
Glossary · Frequently asked questions · All Learning Center articles